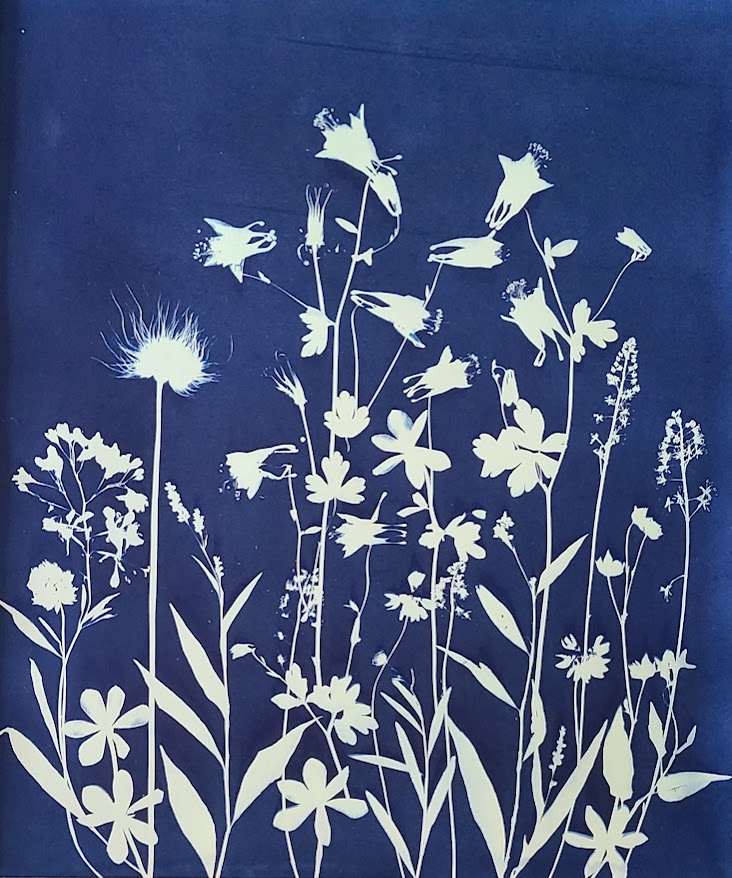
Cyanotype printing is a technique that involves laying pressed plants on paper coated with a solution of iron salts before exposing it to UV light and washing with water to create white and blue images.
What you need:
- Cyanotype chemicals (buy online or if you are lucky, from a local art store)
- a foam paint brush
- exacto knife
- Heavy weight paper (water colour or mixed media (regular white paper is too thin and will rip in the water bath)
- Pressed flowers or leaves or foliage
- A dark place, or an evening
- A dry, sunny, outdoor spot to ‘bake’ your cyanotype
- 8×10 or 5×7 glass and cardboard backing
- Clothes pins or binder clips or butterfly clips (you may be tempted to do without but this these are essential if you want a crisp image)
- Paper towels
- A sink, or tub of clean water
- A non-porous surface to let the print dry. (Untreated wood and fabric will stain blue, as will clothes (ie. Wear something that can stain)).
- Optional: rubber gloves
Preparation:
- Cut your paper to a desired size
- Follow Cyanotype instructions on the bottles to prepare the liquid. You might start with 1 TBsp of each liquid.
- Paint the prints out of UV light (at night or in a darkened room). You might paint one coat, or two thin coats. Don’t leave a puddle as this will act as an object and leave a white blob during exposure
- Dry the prepared prints in a dark space. They are stable for a long time if you keep your out of direct sunlight (a drawer is perfect).
Ready to Print:
- Choose a sunny, high UV day to create your prints
- Inside the house: Remove one of the prepared cards and place on the hard cardboard backing.
- Arrange the pressed plant on the surface
- Lay the sheet of glass on top of the image (see Tips 3)
- Clip in place (see Tips 3)
- Take your glassed print outside and set it onto a dry, sunny surface. Pay attention: the print will develop before your eyes!
- How do you know the print is ready: the print will first turn a greeny-blue and eventually a greyish green. That’s when it is ready. If you are impatient and disturb the ‘baking’ process, you will simply wash off the chemicals, the image will be bleached and you will be sad.
Washing your cyanotype:
- Take the ‘baked’ print inside, unclip, and place into a sink of water (take care not to let water flow onto the image as the jet may effect the image). Your image will now turn blue. Pay attention: this is amazing!
- Swish around for about 30 seconds (you may want to wear rubber gloves for this). Once you don’t see any yellow chemical swirling around, take the card out of its bath and place onto a paper towel.
- Blot the image with another paper towel to absorb any chemical bleeding, esp over the white border
- Let dry. The background continues to darken for another day or so, as do the imprints.
Tips:
Don’t attach yourself to an outcome; the image has a mind of its own
- Start with the bookmark and work your way to the larger card (this allows you to test the timing of the exposure and the effect of a particular subject)
- Don’t choose any plants with surfaces over 1 cm wide as this will result in a big white blob. Ideally, choose a plant that is airy.
- Take care that the entire card is covered by the glass; edges of glass will act as an object and leave an imprint. Take care not to overlap the clip over and into the paint, as it will act as an object and leave an imprint
- In fall, winter and spring, you might prop the image up at a 45 degree angle, to face the level of the sun
- Once you place the print outside, don’t disturb it, as movement will disturb the angle of the sun and create blurry images
- Be patient; exposure varies depending on the UV.) On a sunny day, exposure might be 5-10 minutes, on a cloudy, or early/late day you might need to wait 30 minutes to ‘bake’ the image’.
If you have any questions, email me CyanoBluePrints@gmail.com
